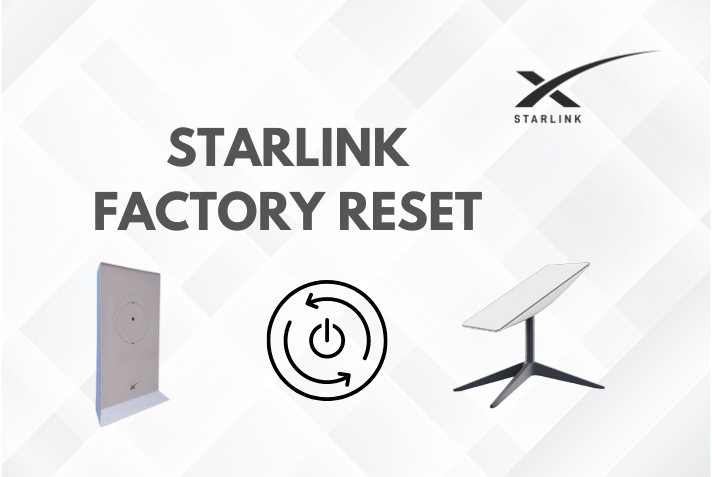
How to Reset Your Starlink Router: A Step-by-Step Guide
Despite the best technology available, sometimes even Starlink users face issues with their internet connection. A factory reset of the system is often recommended to troubleshoot issues with the hardware and software. In this article, we will provide a step-by-step guide to resetting your Starlink router, including different types of hardware, frequency of factory resets, and tips for a smoother process.
Why Would You Need to Reset Your Starlink Router?
Your Starlink router might need resetting for several reasons, including:
Technical issues
If you’re experiencing problems with your internet connection, a factory reset may diagnose and solve the issue.
Transferring hardware ownership
If you’re selling or transferring ownership of your Starlink hardware, factory resetting is essential.
Deactivating Bypass mode
If you want to disable Bypass mode, a factory reset is necessary.
Forgot password
If you’ve forgotten your password, a factory reset will revert to the default settings and credentials.
Optimizing performance
Factory resetting your Starlink hardware can help establish a better connection with the Starlink constellations above and improve performance.
How to Factory Reset Your Starlink Router
The process of factory resetting your Starlink hardware differs depending on the type of kit you have: Standard rectangular dish, high-performance square dish, original circular dish, or Starlink mesh node.
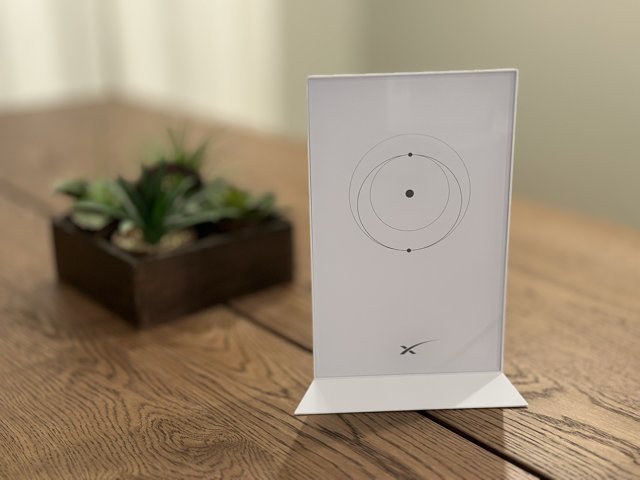
Step 1: Locate Your Router
You need to access your router’s power cord and wall outlet, so make sure you know where your router is physically located.
Step 2: Turn Your Router On and Off
Perform a power cycle sequence by turning your router off and on six times, with a few seconds in between each cycle. To do that, unplug the power cord from the bottom right, and plug it back in after waiting a few seconds.
Step 3: Confirm Reset
Wait a few minutes for the system to boot up again, and your old settings (including the Wi-Fi network name and password) will have disappeared. You will instead see a default Wi-Fi network connection, which can either be called STARLINK or STINKY.
Step 4: Create a New Wi-Fi Network (optional)
If you want to customize your Wi-Fi network, connect to STARLINK or STINKY using your phone. Afterward, open the official Starlink app, where you can rename the default connection and create a new password.
How to Factory Reset Original Standard Circular Dishy

The original circular Starlink hardware factory reset has a different process:
Step 1: Locate Your Router
Access the reset button on the bottom of the router.
Step 2: Press Reset Button
Press the button on the bottom of the router until the light turns blue, and then release.
Step 3: Wait for Reboot
Wait a few seconds for the router to boot up again. Afterward, you can connect to the default STARLINK or STINKY network and set up your own name and password.
How to Factory Reset Starlink Mesh Node
The process for resetting the Starlink mesh node is similar to the standard rectangular kit:
Step 1: Power Cycle the Mesh Node
Unplug the power cord from the wall and plug it back in six times in a row, waiting a few seconds between each cycle.
Step 2: Connect to Main Router
Make sure you are connected to your main router’s Wi-Fi network, not the mesh node STARLINK or STINKY network that appears after the factory reset.
Step 3: Open the Starlink App
Open the official Starlink app and follow the prompt to pair the Starlink mesh node.
Tips for Smoother Resetting
To make the resetting process run more smoothly, consider these tips:
Keep the power cycle sequence consistent and spaced out
All the Starlink hardware resetting processes primarily depend on a repeated power cycling sequence. Keeping the sequence consistent and evenly spaced out can ensure a smoother process.
Make sure you have access to the Wi-Fi network name and password
After the factory reset, you will need to reconnect all your Wi-Fi devices to the new Starlink Wi-Fi network. Make sure you have access to the network name and password.
Allow time for the system to reboot and reset
After the factory reset, the Starlink router and dish may take some time to fully reboot and reset. Allow at least a few minutes for the process to complete.
Follow the official Starlink app’s prompts
The official Starlink app provides a straightforward guide to resetting your Starlink hardware. Follow the prompts in the app to ensure a successful reset.
Conclusion

Resetting your Starlink router can help solve technical issues, transfer hardware ownership, optimize performance, and more. The process differs for different types of Starlink hardware but generally involves a power cycle sequence, confirmation, and Wi-Fi network adjustment. Follow the official Starlink app’s prompts and keep the power cycle sequence consistent and evenly spaced out to ensure a smoother process.
FAQs
1. What is the factory reset sequence for the Starlink router?
The factory reset sequence for the Starlink router involves turning off and on the router six times, with a few seconds in between each cycle.
2. How can I reset the original circular Starlink hardware?
To reset the original circular Starlink hardware, press the button on the bottom of the router until the light turns blue, and then release.
3. Why would I need to reset my Starlink router?
You may need to reset your Starlink router to diagnose and solve technical issues, transfer hardware ownership, optimize performance, and more.
4. How long does it take to fully reboot and reset the Starlink router after a factory reset?
It may take a few minutes for the Starlink router and dish to fully reboot and reset after a factory reset.
5. Is it necessary to factory reset my Starlink hardware before transferring ownership?
Yes, it is necessary to factory reset your Starlink hardware before transferring ownership to someone else.


