EaseUS is a big name in the data recovery realm of tech. With an experience of over 14 years, EaseUS has been helping over 70 million users recover their deleted/lost data in over 160 countries. Back in 2016, we reviewed the EaseUS Data Recovery Wizard, and it turned out to be a great program. Two years have passed now, let’s see how EaseUS Data Recovery Wizard has evolved! Here’s GeeksULTD’s step-by-step guide on how to recover lost data using EaseUS Data Recovery Wizard (Free version):
How to Recover Lost Data Using EaseUS Data Recovery Wizard:
Step 1: Install EaseUS Data Recovery Wizard:
First of all, you need to install EaseUS Data Recovery Wizard. You can download the free version from here.
Note: You can only recover up to 2 Gigabytes of lost data using the free version.
To recover an unlimited amount of data, you'll need to buy the product which starts at $70.
After downloading the program, run it and install it using the on-screen instructions.
Step 2: Select a Source to be Scanned:
After installing the program, launch it, You’ll see all your storage drives listed there.
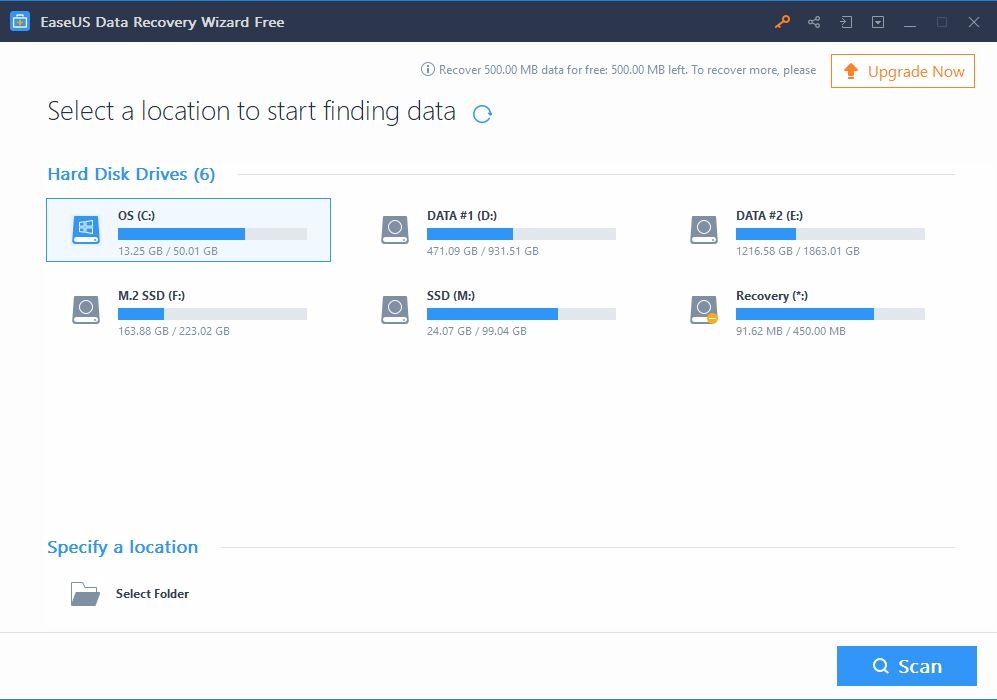
Select the drive from which you want to recover the lost data from. The EaseUS Data Recovery Wizard will scan for recoverable data. Let it scan.
Step 3: Recover the files:
After the scan has completed, the program will show you all the recoverable files. In our case, it found over 3,000 recoverable files!
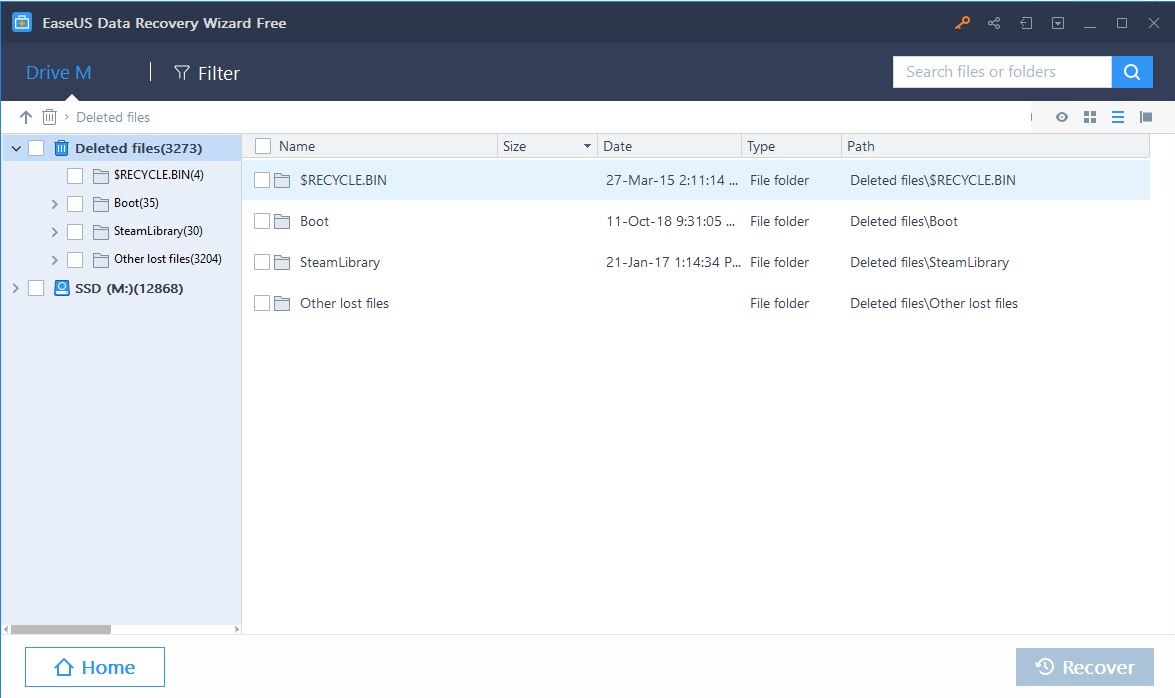
It’s quite simple from here. Just look around and select the file(s) you want to recover. After the files are selected, click the recover button and put in a destination folder for the extraction of the recovered files.
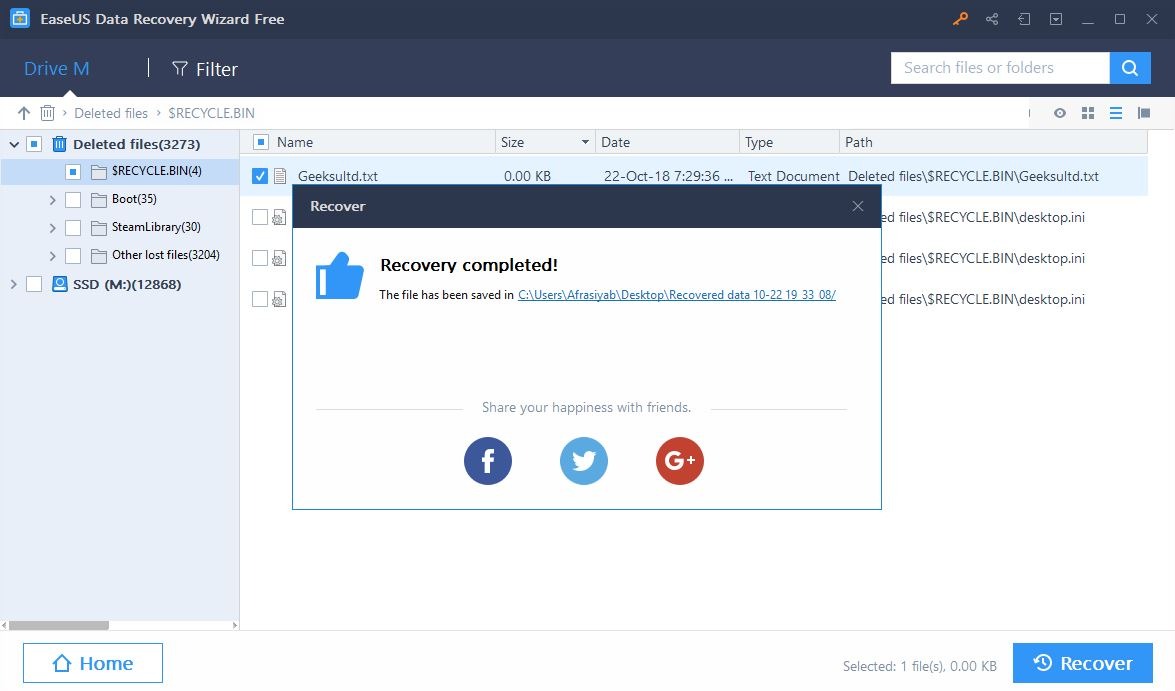
And Voila! The files are back from the dead.
So there you go, folks. Data recovery is made very easy by user-friendly programs like this. Since our last review in 2016, the program sure has improved a lot. In three simple steps, you can recover your lost data. The 2GB limit on the free version might be a deal-breaker for some, but hey, lost data greater than 2 Gigabytes is priceless.
Stay tuned to GeeksULTD for more.


")