The general aesthetic surrounding the use of resin in different artwork and most recently in furniture has grown tremendously. The resin which has been gaining momentum since 2019 has only grown since then. From small pieces of jewellery all the way to furniture, the resin has been everywhere and it is not going anywhere else. check out the epoxy river table and learn everything about them.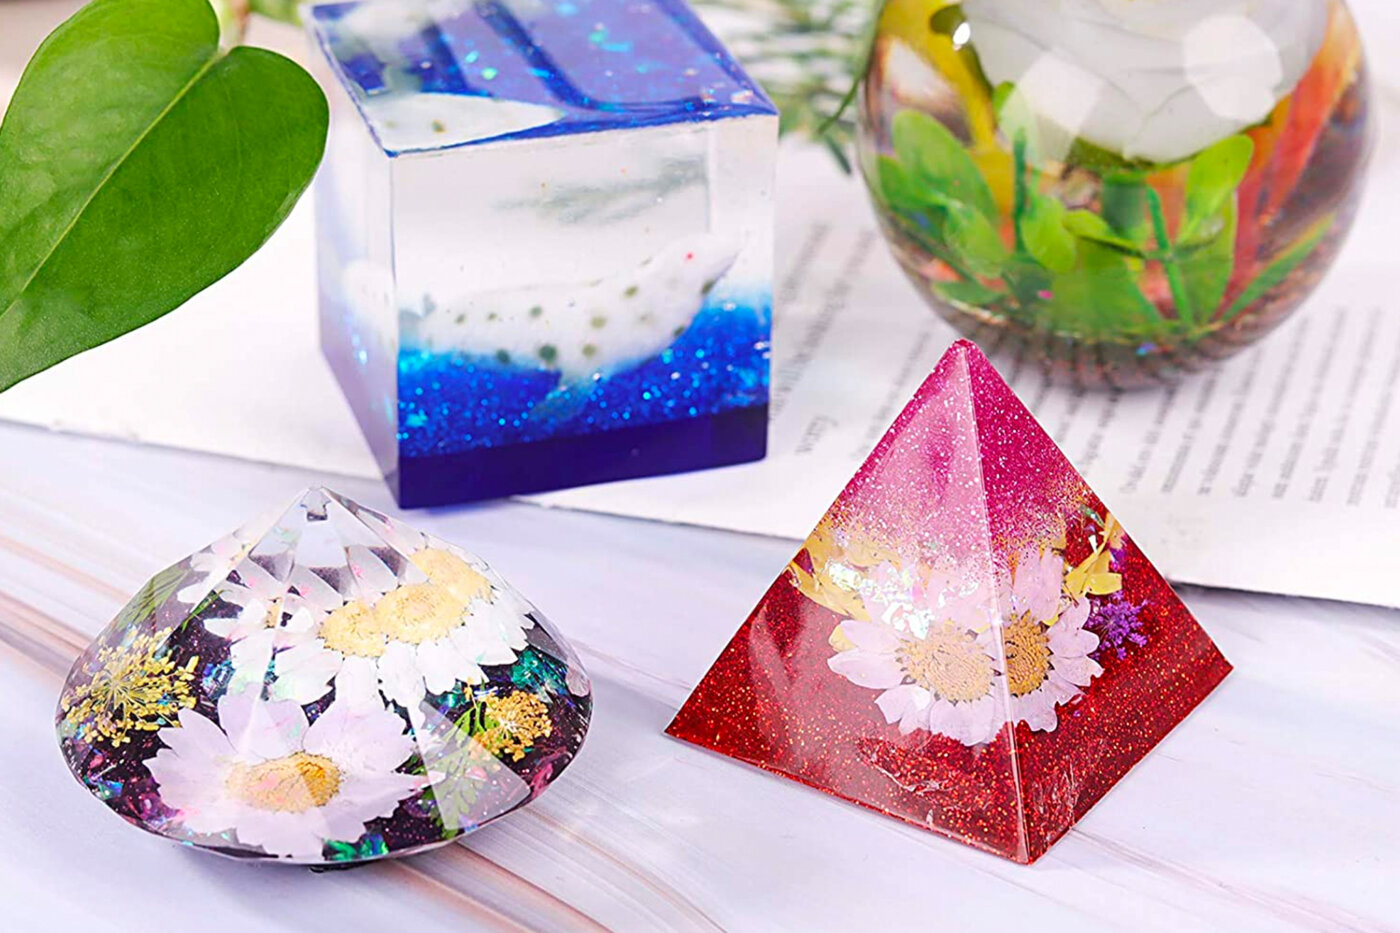
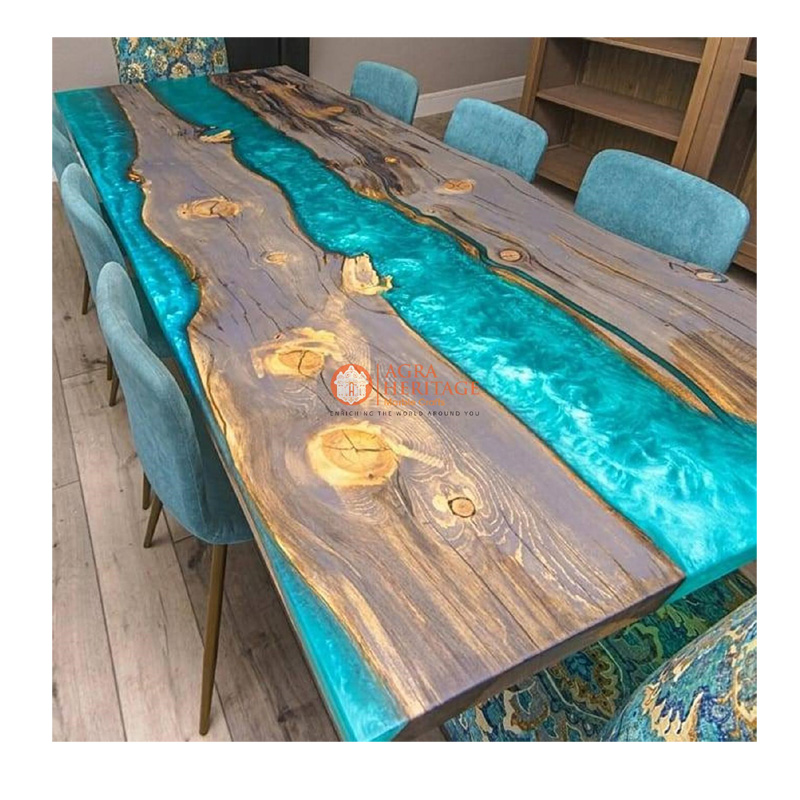
An epoxy river table is a combination of epoxy resin and wood. The entire table is mostly made of wood but a huge block of resin is fixed in the centre half giving the visual of a river flowing through the table. Epoxy river tables are a mix of classic and modern but with an elegant appeal.
Epoxy resin 
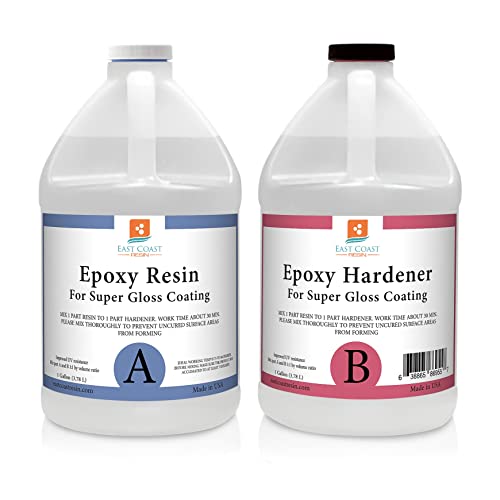

The two main materials required in an epoxy river table are epoxy resin and wood. A wooden table is a common item occurring in our everyday life, but what exactly is epoxy resin?
- Epoxy resin originates from the resin family and is a strong adhesive that can handle a strong amount of stress, which makes it one of the most efficient materials to be used for many industries.
- It also combines well with many materials such as wood, glass, ceramic, etc.
- Epoxy resin gives an incredible amount of resistance against heat and chemical applications
Even though the epoxy resin is considered a number one choice of adhesive by most workers, it is not water-resistant which is one of its biggest flaws. Continuous moisture will gradually lead to its deterioration.
How to make an epoxy river table?
Though an epoxy river table might seem like the work of a professional, it can also be quite easy to make provided you follow the right instructions (can’t freeway this one). Taking the right precautions and having patience can help you make your very own epoxy table in just 8 easy steps
1. Prepping the wood
Remove the bark of the wood to make sure that the resin does not interact much with the wood, if you do not remove the bark of the wood, it might create some problems which will lead to resin breaking the wood.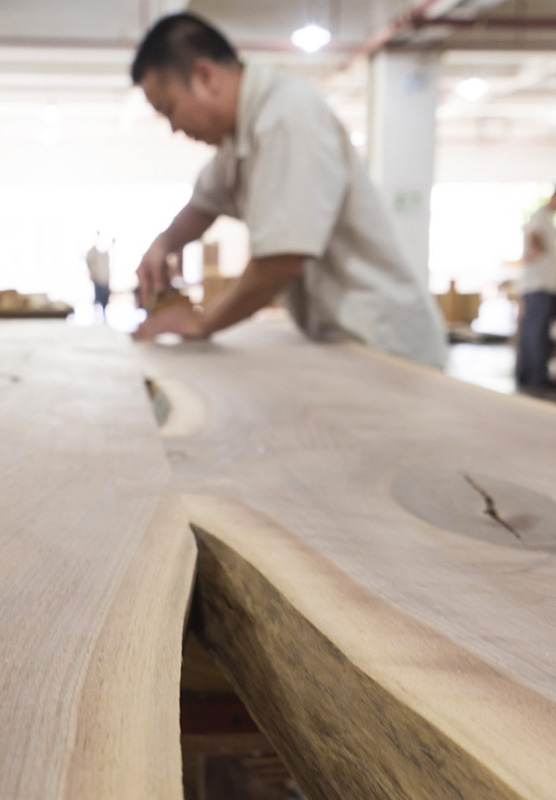
Sand the wood thoroughly to make sure there is a smooth surface. Any little cracks or skulls should be covered. Cleaning your wood with acetone or degreaser after an all-important process is necessary before you start your resin casting procedure.
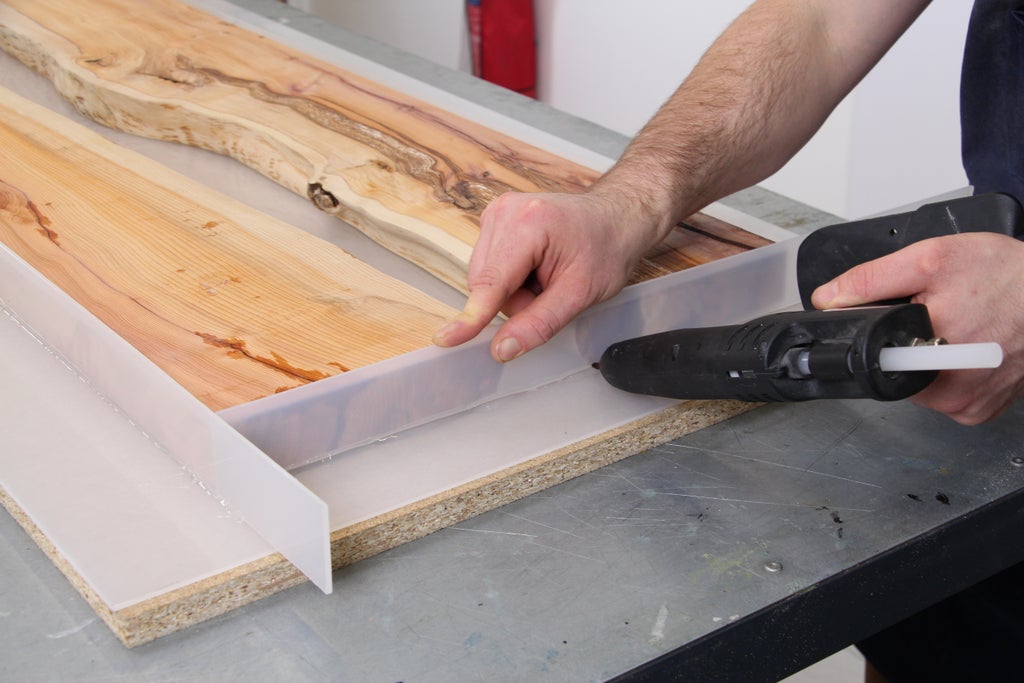
2. Mould box 
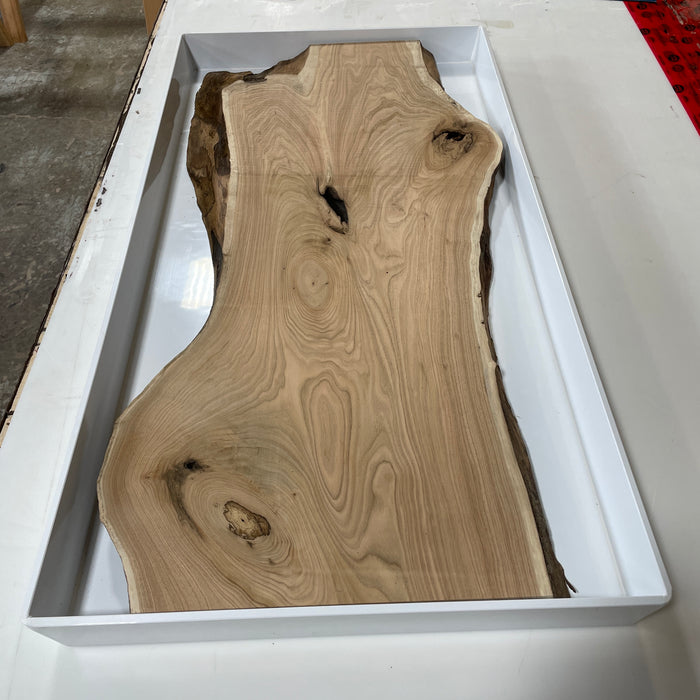
A mold box is usually created from melamine, which is a nitrogen-based compound used by many manufacturers to create dishware. Having a mold box makes it easier to remove the casted resin top.
A good chemical agent makes all the difference in casting the resin. It is important not to skip this step as otherwise your slab might not get released from the mold and might be stuck. After releasing the cast top, seal the area well to make sure any epoxy resin does not escape from the mold box.
3. Casting the epoxy river 
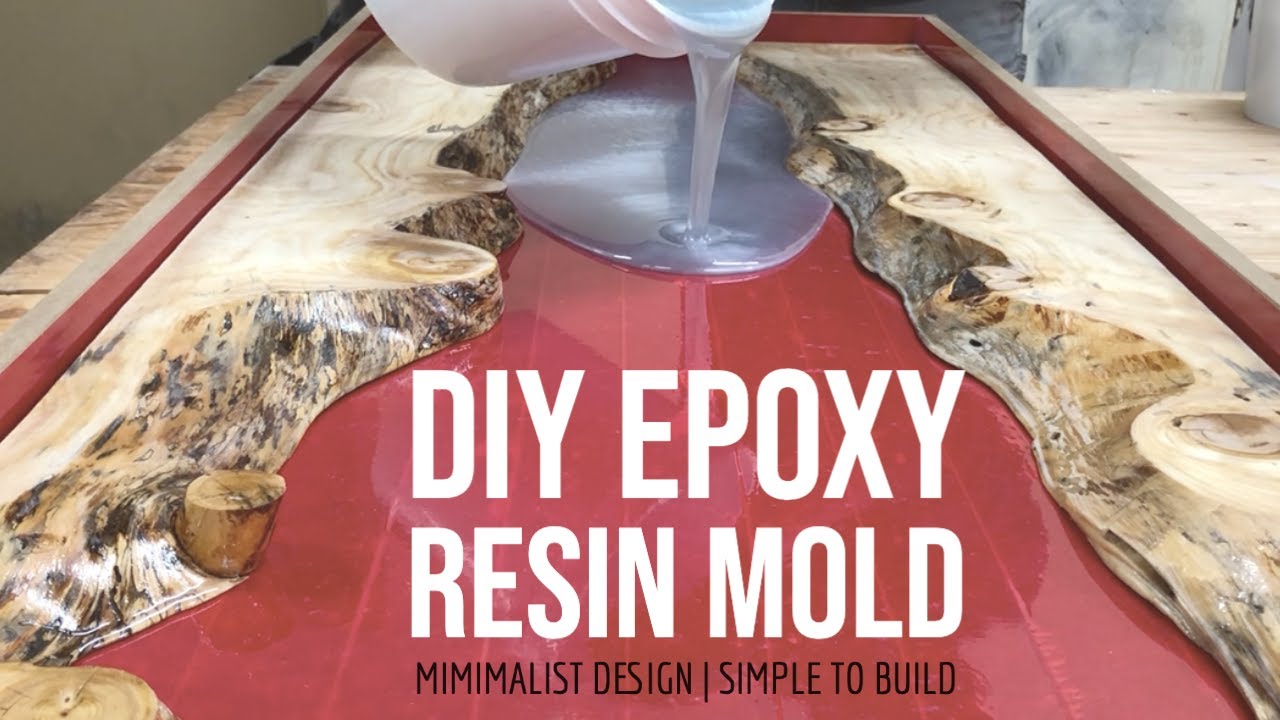
This important step requires a good amount of protection, so make sure you use the required protection so that it is not a safety hazard.
- Use two measuring cups to mix the resin well. Take the desired amount of resin in the first cup and then transfer it to the next cup, mixing it well. This is the best way to mix the resin.
- Depending on what color you like, add the pigment which is required.
- One the epoxy resin is pigmented. Make sure you pour a thin first layer.
- Seal it immediately to avoid air bubbles
- Secure the wood so it does not float away
- Once the resin has cured to a semi-solid state, add the remaining amount to the desired quantity.
- Make sure you leave it for about 48 hours before using the table.
4. Flatten the slab
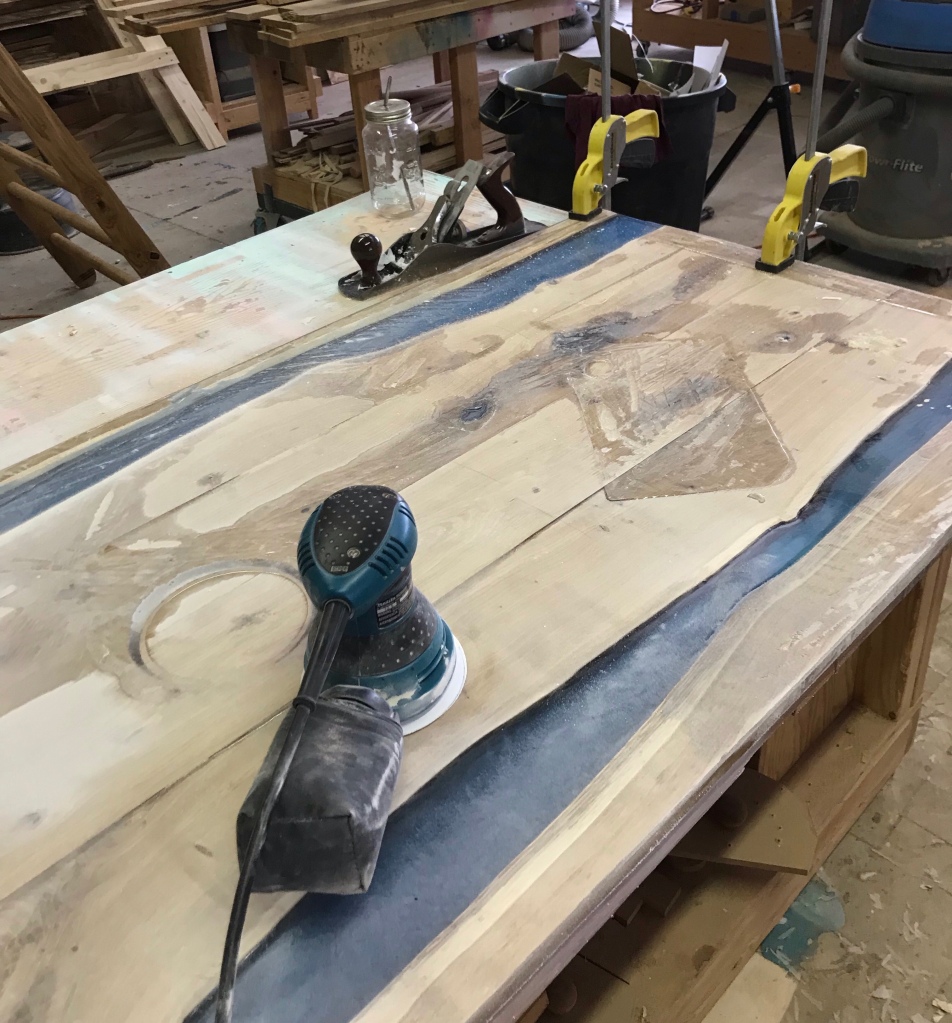
Flattening the slab is an important process. Due to the air pressure, the resin might sometimes expand or shrink. Using an X-crave machine (used specifically for flattening) can help flatten the slab.
Make sure to sand it smoothly and evenly from all sides, this can help your epoxy river table to get a more defined and smoother look.
5. Flow coating
Flow coating is an automated way of applying liquid coatings. Flow coating helps the resin table hide any of its stretchmarks or injuries and helps in additional flattening of the slab. Therefore, flow coating is an important process in making an epoxy river table. Sand the river table after flow coating and end the process.
6. Paint the frame and table.
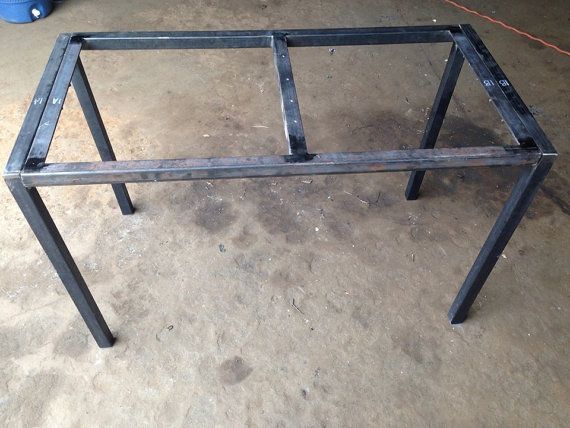
Weld the frame well with mounting holes. Make sure to clean the frame well to remove it from any oil residues. A bare metal table frame is sufficient and fine.
Make sure your tabletop has cured completely before going ahead with paint. Painting the table is your own personal choice. However, as per experts, spray paint works wonderfully and is so easy and efficient. You can make your table matte or glossy, all up to you.
7. Finishing touches
You are about 90% done by the time you reach this step. The finishing touches include affixing the frame on the tabletop. Drilling screw tops with screws on the tabletop for the frame.
Final cleaning would include using a wood stain or sealant paint to make sure you get the shine and gleam.
 With the right procedure and technique, an epoxy river table can be a fun weekend project which you can indulge in. Though it looks like it needs the support of the professional, with any little prior experience with resin or even with no experience, you can make an epoxy table all by yourself. A dinner table, tabletop, teapot table, or desk, any variety of epoxy river tables is possible and is easy to make.
So, grab all the necessary materials and print off this article to make your very own Epoxy River table. Make sure you have the required help but also unleash your creativity in the best way possible by contributing something beautiful to your house.
FAQs-
1. Do epoxy river tables last?
Epoxy resin is one of the most durable adhesives available in the market today. It is designed to hold a great amount of duress. Epoxy resin combines beautifully with wood, known to create a solid bond that is meant to last several years, provided it is not constantly exposed to moisture or water.
2. Does epoxy melt in the sun?
No, epoxy resin is a strong adhesive, it can easily undertake a good amount of heat or chemical exposure. It will hold itself just fine under the sun and will not melt.


